How to Install a Murphy Bed: Beginner Guide
Learn how to install a Murphy bed step-by-step in this beginner guide. Save space, add style, and do it yourself with confidence!

Let's be honest, small spaces can drive you absolutely crazy. Whether you're living in a studio apartment, setting up a guest room that doubles as a home office, or just trying to make the most out of every square foot you've got, space is precious. That's exactly why Murphy beds, also known as wall beds, have made such a massive comeback in recent years. And hey, the best part? You don't need to be a seasoned contractor to pull this off. This How to Install a Murphy Bed: Beginner Guide is going to walk you through everything, from picking the right kit to driving in that final screw. So grab your toolbox, roll up your sleeves, and let's get into it.
What Is a Murphy Bed and Why Should You Care?
Named after William Lawrence Murphy, who patented the fold-down bed concept back in the early 1900s, a Murphy bed is essentially a bed that folds up vertically into a wall-mounted cabinet when you're not using it. Clever, right?
Here's why people are absolutely head over heels for them:
They free up a ton of floor space during the day
They make guest rooms functional year-round
They add a clean, built-in look to any room
Modern kits come with shelving, desks, and more
They're surprisingly affordable when you DIY
Whether you're working with a spare bedroom or a tight city apartment, installing a Murphy bed can genuinely transform the way you live.
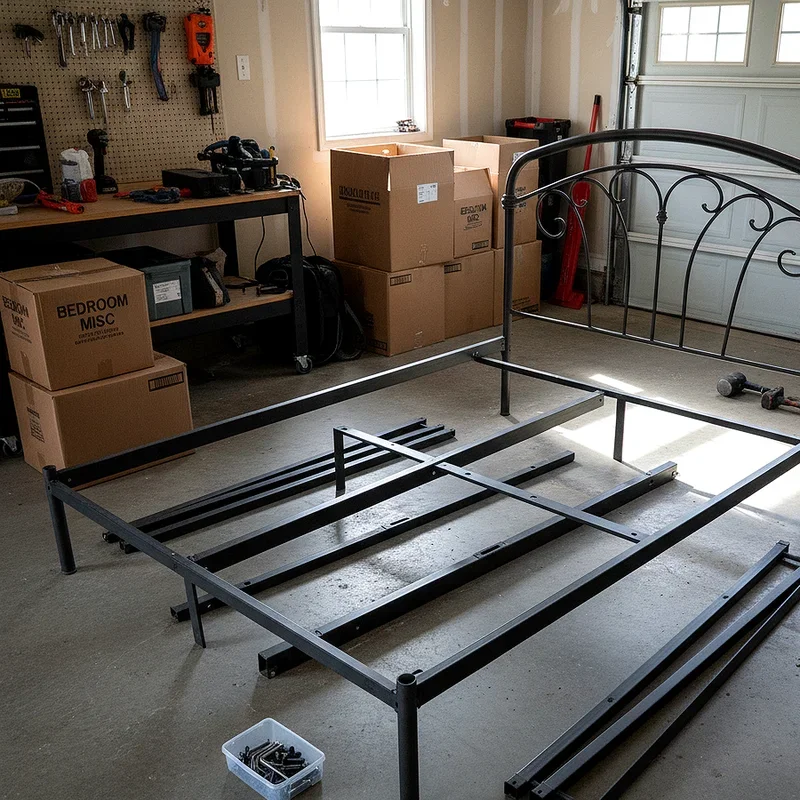
Tools and Materials You'll Need
Before you even think about cracking open that flat-pack box, make sure you've got the right gear. Going in without the proper tools is a rookie mistake, and trust me, you don't want to be halfway through assembly and realize you're missing something.
Here's what you'll typically need:
Power drill and drill bits
Stud finder
Level (a long one works best)
Tape measure
Pencil for marking
Hammer
Screwdriver (both Phillips and flathead)
Wrench or socket set
Safety glasses
Someone to help you (seriously, don't skip this one)
As for the Murphy bed kit itself, most come with the cabinet panels, the piston or spring lift mechanism, the bed platform, and all the necessary hardware. Read the manual front to back before you start. Yes, all of it.

How to Choose the Right Murphy Bed Kit
Not all Murphy beds are created equal, and choosing the right one upfront will save you a world of headaches later. Here are a few things to keep in mind:
Size Matters
Think about what mattress size you need. Murphy beds typically come in twin, full, queen, and sometimes king sizes. A queen wall bed is going to need more wall space and ceiling height than a twin, so measure twice and buy once.
Mechanism Type
Most modern kits use either a piston lift system or a spring-loaded mechanism. Piston systems tend to be smoother and more reliable over time. Springs work fine too, but they can wear out faster. Either way, make sure the mechanism is rated for the mattress weight you're using.
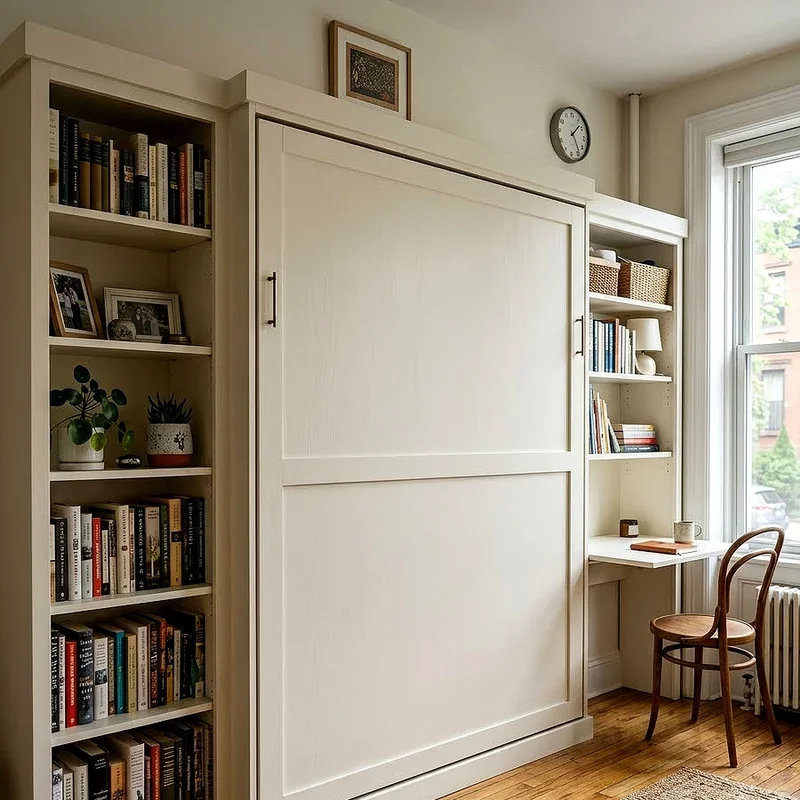
Cabinet Style
Some kits are purely functional. Others come with side panels, shelving, integrated desks, or lighting. Think about how the bed will be used. A home office that converts to a guest room overnight? Go for one with a fold-down desk. A simple spare room? A basic cabinet style will do the trick.
How to Install a Murphy Bed: Beginner Guide Step by Step
Alright, here's the meat and potatoes of this whole article. Follow these steps carefully, and you'll have your Murphy bed up and functioning like a dream.
Step 1: Find Your Wall Studs
This is non-negotiable. A Murphy bed is heavy, and when it's folded up, that weight is hanging on your wall. You need to anchor it into studs, not just drywall.
Use your stud finder and mark every stud in the area where you plan to install the bed. Typically, studs are 16 inches apart, though older homes sometimes have 24-inch spacing. Mark them clearly with a pencil.
If you're mounting to a concrete or brick wall, you'll need masonry anchors instead of wood screws. Check your kit's instructions for specifics.
Step 2: Mark the Wall Layout
Using your tape measure and pencil, mark the exact footprint of the cabinet on the wall. Your kit should include a template or detailed measurements. Use your level constantly here. A crooked Murphy bed isn't just ugly, it can mess up the mechanism and make the bed hard to open and close.
Draw a light outline of where the cabinet back panel will sit. Double-check your measurements. Then check again. Seriously.
Step 3: Assemble the Cabinet
Most Murphy bed kits require partial assembly before mounting. This usually means putting together the side panels, top, and bottom of the cabinet frame. Follow the kit instructions closely here because the order of assembly often matters.
Lay everything out on the floor first and sort your hardware by type. Nothing slows down a project like hunting for the right screw in a pile of fifty similar-looking screws.
Tip: Don't fully tighten anything until the whole frame is assembled. Slight adjustments are almost always needed.
Step 4: Attach the Wall Mounting Rail
Most kits include a wall rail or mounting plate that gets screwed directly into your wall studs. This is the backbone of the whole setup, so it has to be solid.
Hold the rail up to your marks and use a level to make sure it's perfectly horizontal. Have your helper hold it in place while you drill pilot holes through the rail and into the studs. Then drive in the lag bolts or screws provided.
Give it a firm tug when you're done. It should feel absolutely rock solid. If it wiggles even a little, something's not right.
Step 5: Install the Lift Mechanism
This step varies quite a bit depending on your kit, so your manual is your best friend here. Generally speaking, the piston or spring arms attach to the cabinet sides and connect to the bed platform.
Pay close attention to the tension settings. Most piston systems have adjustable settings based on mattress weight. Getting this right makes a huge difference in how easily the bed opens and closes. Too tight and it'll be hard to pull down. Too loose and it might drop faster than you'd like.
Step 6: Mount the Cabinet to the Wall
With help from your assistant, lift the assembled cabinet and hook it onto the wall mounting rail. This is usually the most physically demanding part of the whole process, so don't try to muscle it alone.
Once it's hooked on, most systems have additional bolts or screws that go through the cabinet into the wall for extra stability. Install all of them. Don't skip any.
Check that the cabinet is plumb (perfectly vertical) using your level. Adjust if needed before fully tightening everything down.
Step 7: Attach the Bed Platform and Hardware
Now you'll install the bed platform inside the cabinet. This is what your mattress sits on. Attach it according to your kit's instructions, making sure all hinges and connectors are properly secured.
Install any handles, leg supports, or locking mechanisms included with your kit. The leg supports are important because they prop the bed up when it's in the lowered position, taking pressure off the lift mechanism.
Step 8: Add the Mattress and Test Everything
Before you celebrate, take the bed through several open and close cycles without the mattress first. It should move smoothly and stay in position when open. If anything feels stiff, squeaky, or off, investigate before adding the mattress weight.
Once everything checks out, lay your mattress on the platform. Make sure it's the right thickness. Most Murphy bed mechanisms are rated for mattresses up to a certain depth, usually 10 to 12 inches. A mattress that's too thick can prevent the cabinet from closing properly.
Test again with the mattress. Open, close, open, close. Beautiful.
Common Mistakes to Avoid
Even handy folks can trip up on these, so pay attention:
Skipping the stud finder step and mounting into drywall only
Not using a level and ending up with a crooked cabinet
Using a mattress that's too heavy or too thick for the mechanism
Forgetting to adjust the piston tension after adding the mattress
Trying to do it alone without a helper
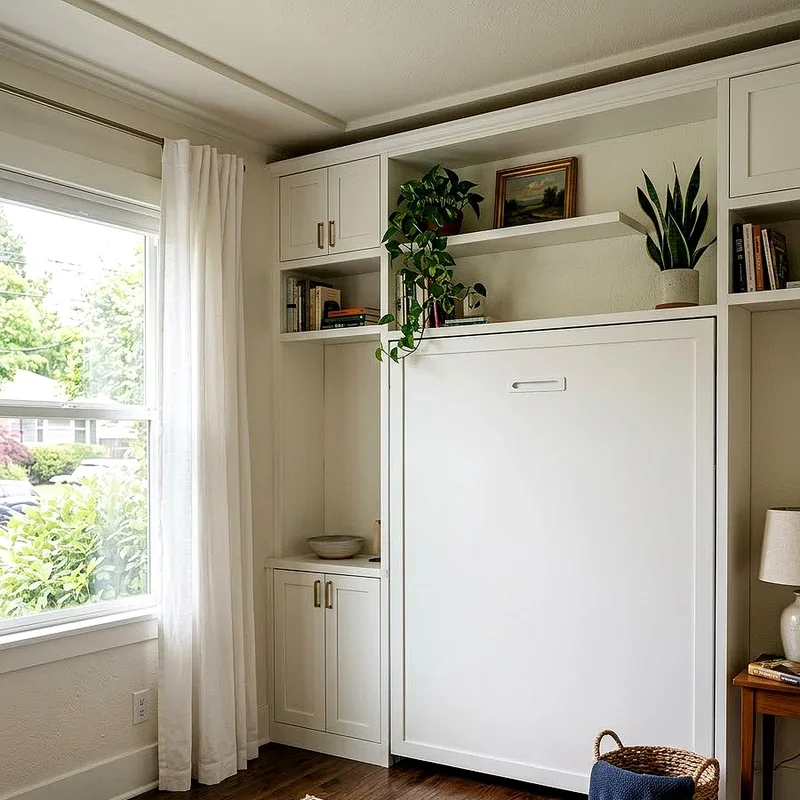
Tips for Making Your Murphy Bed Look Great
Installing it is one thing, but making it look like it belongs in the room is another. Here are a few ideas:
Paint the cabinet to match your wall color for a seamless look
Add LED strip lights inside the cabinet for a modern touch
Use the side shelving units for books, plants, or decor
Hang artwork on the cabinet doors when the bed is folded up
Use a bedspread that stays tucked when the bed is raised
Conclusion
Installing a Murphy bed is one of those DIY projects that feels intimidating at first but ends up being totally manageable with the right kit and a bit of patience. This How to Install a Murphy Bed: Beginner Guide has hopefully shown you that with the right tools, a solid plan, and a helper by your side, you can pull this off over a weekend. The payoff, a room that doubles its usefulness, is absolutely worth every bolt you tighten.
Read next: 15 Bed Pillow Arrangement Ideas for a Polished Bedroom Look
Frequently Asked Questions
Q1: Do I need professional help to install a Murphy bed?
A: No, most kits are beginner-friendly and come with clear, easy-to-follow instructions.
Q2: How long does it take to install a Murphy bed?
A: Most installations take between four and eight hours with a helper assisting throughout.
Q3: Can a Murphy bed fall down while someone is sleeping in it?
A: Modern mechanisms are designed with safety locks that prevent accidental folding during sleep.
Q4: What type of mattress works best with a Murphy bed?
A: A medium-firm foam mattress under twelve inches thick is generally the best choice.
Q5: Is the How to Install a Murphy Bed: Beginner Guide suitable for all wall types?
A: Mostly yes, though concrete or brick walls require special anchors instead of standard wood screws.
Stay up to date with our latest ideas!