How to Take Apart a Bed Frame Step by Step Without Losing Your Mind
Learn how to take apart a bed frame step by step with simple tips, tools, and tricks to make disassembly fast and stress-free.

Moving to a new apartment or simply rearranging your bedroom can feel like a real adventure, and not always the fun kind. One of the trickiest tasks people face is figuring out how to take apart a bed frame step by step without turning the whole process into a chaotic mess. Whether you are relocating across town, upgrading your furniture, or just need to squeeze that bulky frame through a narrow doorway, knowing the right approach makes all the difference. The good news is that it does not have to be complicated. With a little patience, the right tools, and a solid game plan, you can have that bed frame broken down and ready to go in no time.
Why Would You Need to Disassemble a Bed Frame
There are plenty of reasons someone might need to pull apart a bed frame. Moving day is probably the most common one. Trying to haul a fully assembled bed frame down a staircase or through a tight hallway is a recipe for scratched walls and sore backs. Then there is the matter of storage. If you have got a guest bed that only comes out a few times a year, keeping it assembled just eats up valuable space. Some folks also take apart bed frames when they want to deep clean underneath or when they are swapping out old furniture for something new. Whatever the reason, knowing the proper way to handle it saves time and prevents damage to the frame itself.
Tools You Will Need Before Getting Started
Before you dive headfirst into the disassembly, it is a smart idea to gather everything you will need. There is nothing more frustrating than getting halfway through a project and realizing you are missing a crucial tool. Here is a rundown of what you should have on hand:
A Phillips head screwdriver and a flathead screwdriver
An adjustable wrench or a set of socket wrenches
An Allen key set, since many modern bed frames use hex bolts
A rubber mallet for stubborn joints
Ziplock bags or small containers for storing hardware
A marker and masking tape for labeling parts
A soft blanket or moving pad to protect the floor and frame pieces
Having these items ready to go means you will not be running around the house looking for a wrench while holding up a side rail with your knee. Trust me, preparation is half the battle here.
How to Take Apart a Bed Frame Step by Step
Step 1 Clear the Bed Completely
First things first, strip the bed down to nothing. Remove all the pillows, sheets, blankets, and mattress toppers. Then take the mattress off and lean it against a wall or lay it flat in another room. If your bed has a box spring, remove that too. You want a completely bare frame to work with. This might sound obvious, but you would be surprised how many people try to start unscrewing things with bedding still piled on top. Getting everything out of the way gives you clear access and prevents anything from getting dirty or damaged.
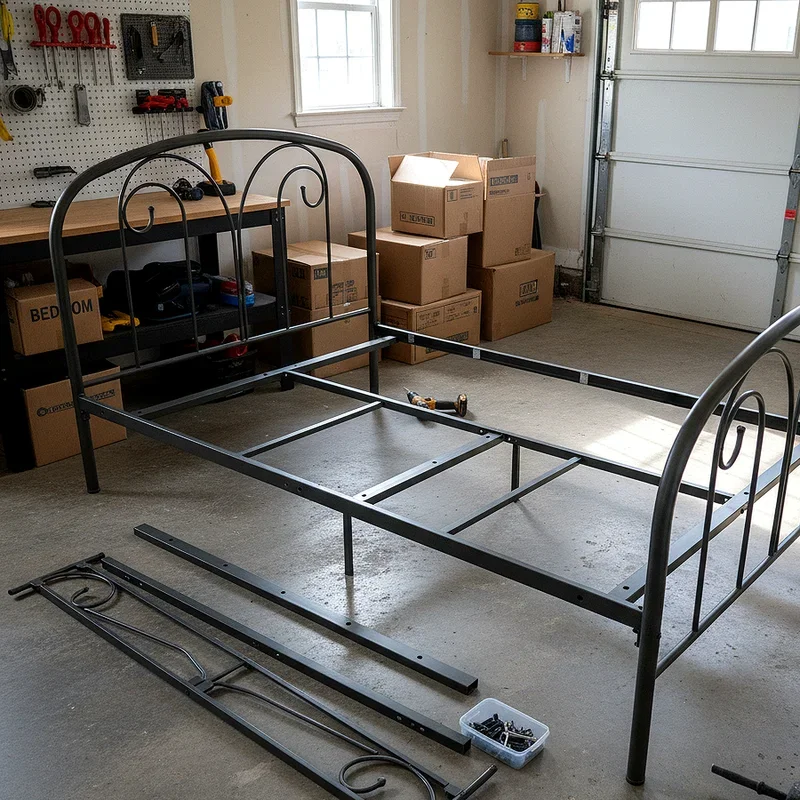
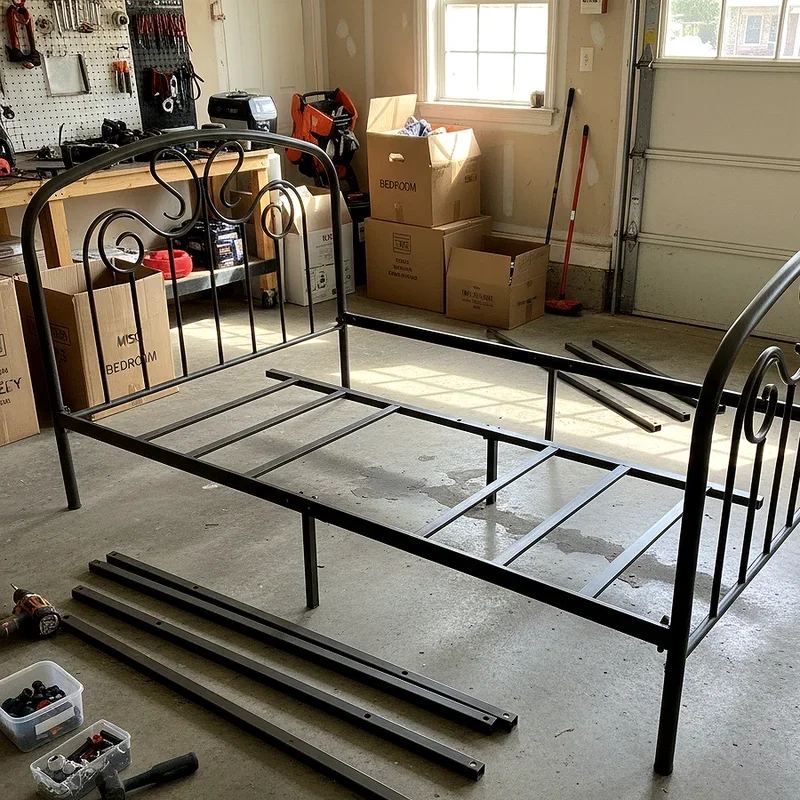
Step 2 Remove the Headboard and Footboard
Now that the frame is exposed, take a close look at how the headboard connects to the rest of the structure. Most headboards attach to the side rails with bolts or screws. Grab your wrench or screwdriver and start loosening those fasteners. Here is a little tip that goes a long way: always loosen bolts before fully removing them. This keeps the headboard stable while you work on it. Once everything is loosened, have someone hold the headboard steady while you take out the last fasteners. The same process applies to the footboard if your bed has one. Lay each piece down gently on a blanket or moving pad so you do not scuff up the finish.
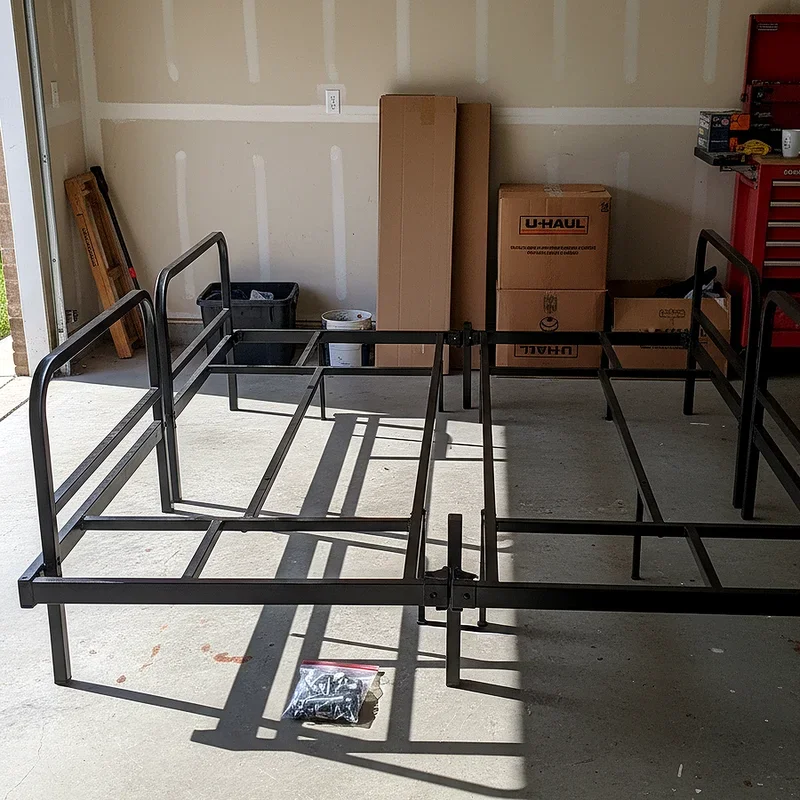
Step 3 Detach the Side Rails
With the headboard and footboard out of the picture, the side rails should be relatively easy to handle. Some frames use a hook and slot system where the rails simply lift off metal brackets. Others might have bolts or screws holding them in place. If your frame uses hooks, just lift each rail straight up and pull it away from the bracket. For bolted connections, unscrew the hardware and carefully set the rails aside. Side rails can be surprisingly long and awkward to manage on your own, so having a helper around is not a bad idea at all.
Step 4 Take Out the Slats or Center Support
Many bed frames come with wooden slats or a metal center support beam that runs across the middle. If you have slats, simply lift them out one by one and stack them together. You might want to bundle them with a strap or some rope so they stay organized. For center support beams, check for any bolts or clips holding them in place before trying to remove them. Some supports just rest on ledges built into the side rails, while others are fastened more securely. Either way, this step usually goes pretty quickly once the rails are already off.
Step 5 Handle the Legs and Extra Hardware
Some bed frames have removable legs that screw in or bolt on separately. If yours does, unscrew each leg and add it to your collection of parts. This is also the time to check for any additional brackets, corner supports, or decorative elements that might need to come off. Do not rush through this part. Those little pieces are easy to overlook, and losing them could cause headaches when it is time to put the frame back together.
Step 6 Organize and Label Everything
Here is where those ziplock bags and masking tape come in handy. As you remove bolts, screws, and other small hardware, drop them into labeled bags. Write down which part of the frame they came from, like "headboard left side" or "center support." If you want to go the extra mile, snap a few photos with your phone before and during disassembly. Having a visual reference later on is incredibly helpful, especially if weeks or months pass before you reassemble the frame. This simple habit can save you a world of frustration down the road.
Tips to Make the Process Smoother
Taking apart a bed frame does not have to feel like solving a puzzle blindfolded. A few practical pointers can make the whole experience much more manageable. For starters, always work in a well lit room so you can see what you are doing. Shadows and dim lighting make it easy to miss a bolt or strip a screw head. Another helpful move is to keep your phone nearby with the assembly instructions pulled up, if you still have them. Many manufacturers also post instruction manuals on their websites, so a quick search might turn up exactly what you need. And here is something people often forget: give yourself plenty of time. Rushing through disassembly is how parts get bent, scratched, or lost.
Common Mistakes to Avoid During Disassembly
Even with the best intentions, mistakes happen. But knowing what to watch out for can keep the little errors from turning into big problems. One of the most frequent blunders is forcing parts that will not budge. If a bolt is stuck, spraying a bit of lubricant like WD-40 and waiting a few minutes works way better than cranking on it with brute force. Another common slip up is forgetting to label hardware. It seems like you will remember where everything goes, but once the pieces are scattered around the room, things get confusing fast. Also, be careful not to drag frame pieces across the floor. Lifting and carrying them prevents scratches on both the frame and your flooring.
Special Considerations for Different Bed Frame Types
Not all bed frames are created equal, and the disassembly process can vary quite a bit depending on what you are working with. Platform beds, for instance, often have a more integrated design where the slats and frame are closely connected. You might need to remove additional support bars or panels. Adjustable bed frames add another layer of complexity because they have motors and wiring that you will want to handle with care. For antique or vintage frames, proceed with extra caution since older wood and metal can be more fragile. If you have got a canopy bed, the overhead structure usually comes apart separately, so tackle that before moving on to the main frame. Understanding your specific bed type before you start is really the key to a smooth disassembly.
How to Store a Disassembled Bed Frame
Once you have successfully figured out how to take apart a bed frame step by step, proper storage keeps everything in good condition until it is needed again. Stand the headboard and footboard upright against a wall, with a blanket or cardboard between them and any hard surfaces. Side rails can be bundled together and stored flat or leaning. Keep all your labeled hardware bags taped to one of the larger pieces so nothing gets separated. If you are storing the frame in a garage or basement, consider wrapping the pieces in moving blankets or plastic wrap to protect against moisture and dust. A little care during storage means a lot less hassle when reassembly day comes around.
When to Call in Professional Help
Look, there is no shame in admitting when a job is bigger than expected. Some bed frames, particularly those with intricate designs, integrated storage drawers, or electronic components, can be genuinely tricky to disassemble without experience. If you are dealing with a high end bed frame and you are worried about causing damage, hiring a professional furniture disassembly service might be worth the investment. The same goes for extremely heavy frames that require more muscle than you and a friend can safely manage. Your back will thank you for knowing when to call in reinforcements.
Conclusion
Taking apart a bed frame does not have to be a stressful ordeal when you approach it with the right mindset and a solid plan. By gathering your tools ahead of time, working through each section methodically, and keeping all the hardware organized, you can handle the job like a pro. Whether you are moving, redecorating, or making space, a careful approach protects both the frame and your sanity. Just take it one step at a time, and you will have that bed frame apart before you know it.
Read next: 15 Bunk Bed Ideas That Are Stylish and Functional
Frequently Asked Questions
Q1. How long does it usually take to disassemble a bed frame?
A: Most standard bed frames take roughly 20 to 45 minutes to fully disassemble.
Q2. Can I take apart a bed frame by myself without any help?
A: Yes, though having a helper makes handling large headboards and side rails much easier.
Q3. What should I do if a bolt is completely stuck and will not turn?
A: Apply penetrating lubricant, wait several minutes, then try loosening it again gently.
Q4. Do I need to keep the original screws when disassembling the frame?
A: Absolutely, original hardware ensures proper fit and stability during reassembly later on.
Q5. Is it safe to disassemble an adjustable bed frame on my own?
A: Unplug it first, consult the manual, and handle wiring carefully to avoid damage.
Stay up to date with our latest ideas!