How to Bind a Quilt: Easy Methods for Neat Edges
Learn how to bind a quilt with easy methods for neat edges. Step-by-step techniques, tips, and tricks for beautiful professional finishes.
You've spent countless hours piecing together beautiful fabric squares, quilted intricate patterns, and now you're staring at those raw edges wondering what comes next. Sound familiar? Binding a quilt is that final crucial step that transforms your project from "almost done" to "absolutely stunning," yet it's the part that makes many quilters break into a cold sweat.
Here's the thing though: binding doesn't have to be intimidating! Once you understand the basics and find a method that clicks with your style, you'll actually start looking forward to this finishing touch. There's something deeply satisfying about wrapping those edges in beautiful fabric and knowing your quilt is finally, truly complete.
This How to Bind a Quilt: Easy Methods for Neat Edges guide walks you through everything from choosing the right binding fabric to mastering those tricky corners. Whether you're finishing your very first quilt or your fiftieth, these techniques will help you achieve edges so neat they look professionally done. Grab your rotary cutter, and let's turn those raw edges into something beautiful!
Understanding Quilt Binding Basics
What Exactly Is Binding?
Before diving into techniques, let's make sure we're on the same page about what binding actually accomplishes. Binding is essentially a fabric strip that wraps around your quilt's raw edges, encasing all three layers: the top, batting, and backing. It's both functional and decorative, protecting those edges from fraying while adding a polished frame to your masterpiece.
Think of binding like the frame around a painting. Sure, the artwork is beautiful on its own, but the right frame elevates everything and gives it that finished, gallery-worthy appearance. Your binding does the same thing for your quilt, defining its edges and providing that professional touch that separates handmade from homemade.
Types of Binding to Consider
Not all binding is created equal! The two main types you'll encounter are single-fold and double-fold binding. Single-fold uses one layer of fabric and works well for lightweight projects or when you want minimal bulk. However, double-fold binding, made from fabric folded in half lengthwise, is far more popular because it's more durable and handles wear better.
You'll also hear about straight-grain versus bias binding. Straight-grain binding is cut parallel to the fabric's selvage edge and works perfectly for quilts with straight edges. Bias binding, cut at a 45-degree angle to the grain, stretches slightly and is essential for quilts with curved edges. Most quilters use straight-grain for everyday projects because it's easier to cut and wastes less fabric.
Preparing Your Quilt for Binding
Trimming and Squaring Up
Before any binding touches your quilt, you need to prepare those edges properly. Grab your long ruler and rotary cutter because it's squaring-up time! This step is crucial, and rushing through it will haunt you later when your binding goes on wonky.
Lay your quilt flat on a large cutting surface. Using your ruler, check that corners are true 90-degree angles. Trim away any excess batting and backing that extends beyond your quilt top, creating clean, even edges all around. Take your time here because perfectly squared edges make binding infinitely easier.
Check for any areas where your quilting stitches ended too close to the edge. You want at least a quarter inch of unquilted space along the perimeter so your binding stitches have room to anchor properly. If needed, add a line of stay-stitching about an eighth inch from the raw edge to keep everything secure.
Calculating How Much Binding You Need
Running out of binding midway through is incredibly frustrating, so let's do some quick math! Measure all four sides of your quilt and add them together. Then add about 10 to 12 extra inches for joining strips and turning corners. This gives you the total length of binding needed.
For fabric calculations, most quilters cut binding strips 2.5 inches wide. Divide your total binding length by the width of your fabric (usually around 42 inches after removing selvages), and you'll know how many strips to cut. Always round up and cut an extra strip just in case because having leftover binding beats running short every single time.
How to Bind a Quilt: Easy Methods for Neat Edges Using Double-Fold Binding
Cutting Your Binding Strips
Grab your fabric and rotary cutter because it's time to create those binding strips! For double-fold binding, cut strips 2.5 inches wide across the width of fabric. Some quilters prefer 2.25 inches for a slightly narrower finished binding, so experiment to find your preference.
Using a rotary cutter and long ruler ensures perfectly straight cuts. Cut along the fabric's crosswise grain from selvage to selvage, then trim away those selvage edges before joining. Stack several fabric layers to cut multiple strips simultaneously and speed up the process.
Joining Strips Together
Individual strips need joining into one continuous length, and there's a specific way to do this for best results. Place two strip ends right sides together, perpendicular to each other, forming an L shape. The ends should overlap in a square where they meet.
Draw a diagonal line from the upper left corner to the lower right corner of that overlapping square. Sew directly on this line, then trim the excess fabric leaving a quarter-inch seam allowance. Press the seam open to distribute bulk evenly. Repeat until all strips are joined into one long continuous piece.
Pressing Your Binding
With your long strip assembled, it's pressing time! Fold the entire strip in half lengthwise, wrong sides together, and press firmly with a hot iron. This crease becomes your folding guide throughout the binding process.
Take your time pressing and ensure the raw edges align perfectly along the entire length. Wavy or uneven folding now creates problems later, so invest these few minutes in good preparation. Some quilters like rolling their pressed binding into a coil for easy handling during attachment.
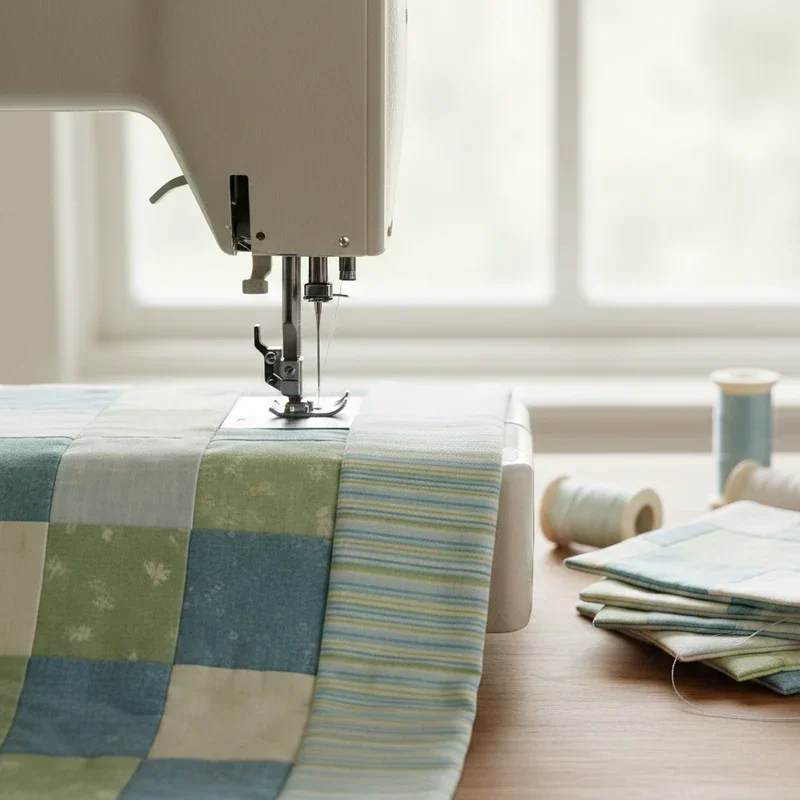
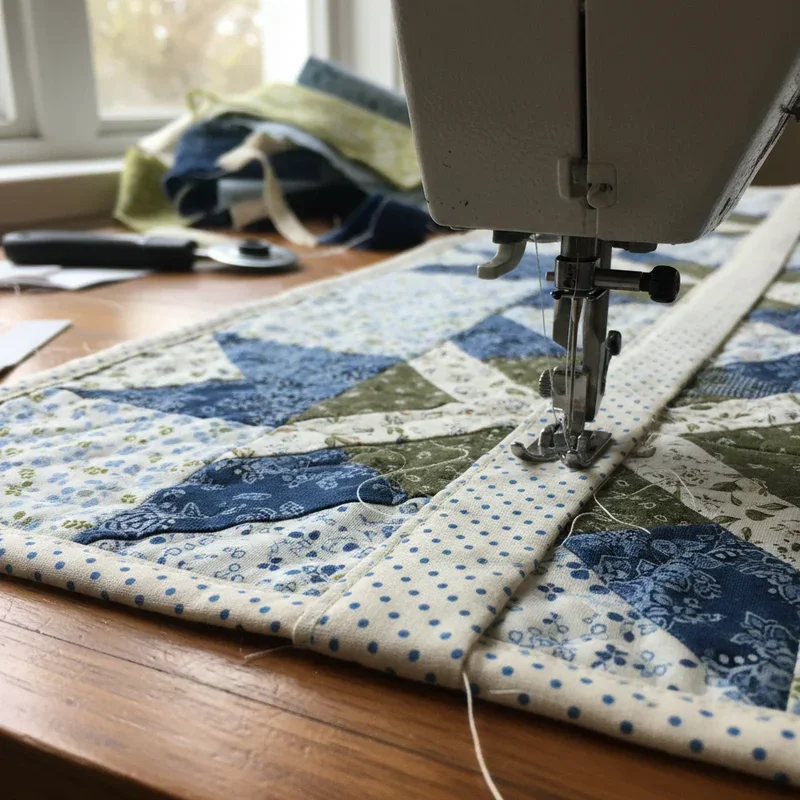
Machine Attaching Your Binding
Starting in the Right Spot
Don't start attaching binding at a corner because that's just asking for trouble! Begin along one side, roughly 10 inches from any corner. Leave about a 6-inch tail of binding free, which you'll join later after going all the way around.
Align the binding's raw edges with your quilt's raw edge. Using a quarter-inch seam allowance, begin stitching through all layers. Keep your stitching consistent because uneven seam allowances create binding that flips to the back unevenly. A walking foot helps tremendously here by feeding all those layers smoothly.
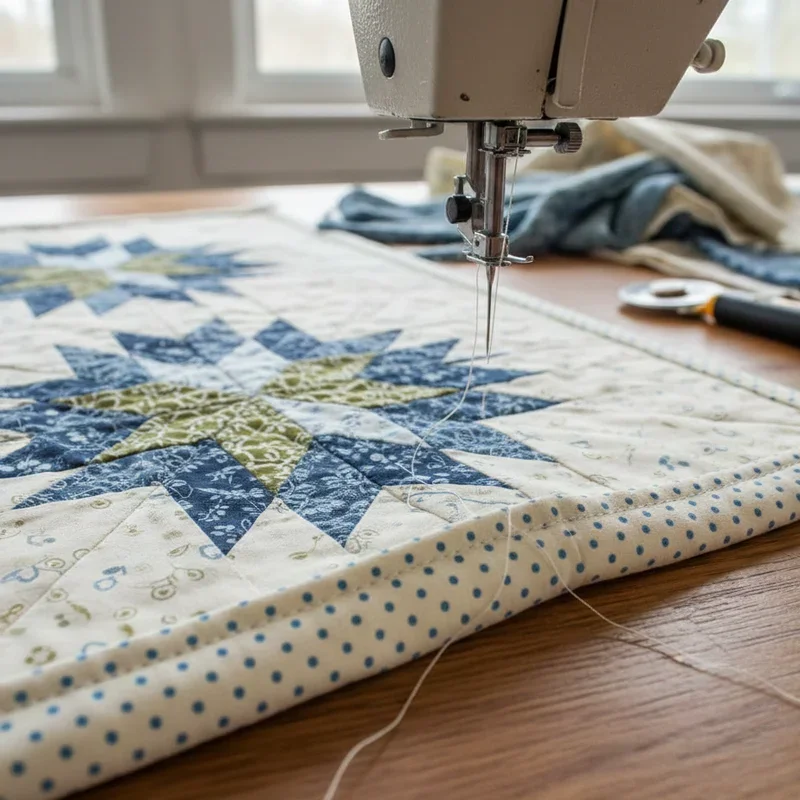
Mastering Mitered Corners
Corners are where binding gets interesting! As you approach a corner, stop stitching exactly one quarter inch before reaching the edge. Backstitch to secure, then remove your quilt from the machine.
Fold the binding straight up, creating a 45-degree angle fold at the corner. The binding should extend straight out from the quilt, perpendicular to the edge you just stitched. Then fold the binding back down, aligning it with the next edge you'll sew. A little fold of fabric should form at the corner.
Starting at the very edge of this next side, resume stitching with your quarter-inch seam. That little fabric fold creates the mitered corner on the front, and when you flip binding to the back, the magic continues with a matching miter there too!
Joining the Ends
When you've gone all the way around and approach your starting point, stop about 10 inches before meeting that original tail. Now you need to join these two binding ends seamlessly.
Lay both tails flat along the quilt edge, overlapping them. Mark where they meet, adding seam allowance for joining. Open up the folded binding, place ends right sides together at a right angle, and join them using the same diagonal seam method used earlier for joining strips.
Trim excess, press the seam open, refold the binding, and stitch this final section to your quilt. This joining method creates an invisible connection that looks completely professional.
Finishing the Binding by Hand
Why Hand Finishing Matters
Sure, you could machine stitch the binding's back side too, but hand finishing creates a nearly invisible attachment that looks incredibly polished. There's something meditative about this final hand stitching, and the results are absolutely worth the extra time.
Thread a hand needle with thread matching your binding fabric. Fold the binding over to the back of your quilt, covering the machine stitching line you created. The folded edge should just barely cover those stitches for a neat appearance.
The Ladder Stitch Technique
Using a ladder stitch creates virtually invisible stitches along your binding. Bring your needle up through the fold of the binding, then take a tiny stitch into the quilt backing, catching just a few threads. Enter the binding fold again directly opposite where you exited the backing.
Continue this pattern, alternating between binding fold and backing fabric. The stitches hide inside the fold, showing only tiny dots of thread on the back. Every inch or so, gently tug your thread to snug everything together. When you reach corners, fold the miters neatly and secure with a few extra stitches.
Alternative Binding Methods Worth Knowing
Machine Binding for Speed
When time is tight, full machine binding offers a faster alternative. Instead of hand-finishing the back, fold the binding over and secure it with machine stitching. This works best when you attach binding to the back first, then flip it to the front for final stitching where visibility matters.
Use decorative stitches or contrasting thread to make this front stitching a design feature rather than something to hide. Many modern quilters embrace visible machine binding as a contemporary aesthetic choice rather than a shortcut.
Self-Binding Using Backing Fabric
For quick projects or baby quilts, self-binding eliminates the need for separate binding strips altogether. Simply cut your backing fabric 2 to 3 inches larger than your quilt top on all sides. After quilting, fold this excess backing to the front, turn under the raw edge, and stitch in place.
This method works best with quilts that won't see heavy use because the single layer of backing fabric isn't as durable as traditional double-fold binding. But for wall hangings or decorative pieces? It's a fantastic time-saver!
Facing for a Binding-Free Look
Want your quilt design to extend right to the very edge without visible binding? Facing creates this effect! Cut fabric strips slightly narrower than traditional binding, attach them normally, but instead of wrapping to the back, turn them completely to the back and hand-stitch invisibly.
This technique creates a modern, clean-edged look popular with art quilts and contemporary designs. The front of your quilt appears to simply end at the edge with no binding visible at all.
Troubleshooting Common Binding Problems
Wavy or Puckered Edges
If your binding creates waves along your quilt edges, you're likely stretching the binding while attaching it. Let the fabric feed naturally through your machine without pulling. Using a walking foot helps tremendously by feeding all layers evenly.
Sometimes wavy binding indicates your quilt edges weren't squared up properly before binding. If you're experiencing persistent problems, recheck your edge trimming process and ensure you're cutting perfectly straight.
Corners That Won't Lie Flat
Bulky corners usually mean too much fabric got trapped in the miter. Check that your 45-degree folds are sharp and precise. Trimming a tiny bit of bulk from corner seam allowances can help, but be careful not to cut too close to stitching.
Pressing corners thoroughly with steam helps them behave too. Don't be afraid to use a point turner or chopstick to push those corner miters into crisp submission before pressing.
Conclusion
Binding your quilt beautifully isn't magic, it's simply technique plus practice. This How to Bind a Quilt: Easy Methods for Neat Edges guide has given you the foundation for professional-looking finishes every time. From cutting strips and joining them perfectly to mastering those mitered corners, each step builds toward that satisfying moment when your quilt is finally complete. Remember that every quilter struggles with binding initially, but persistence pays off. Soon enough, you'll be binding quilts with confidence and maybe even enjoying the process along the way!
Read next: 15 Bed Pillow Arrangement Ideas for a Polished Bedroom Look
Frequently Asked Questions
1. What width should I cut my quilt binding strips?
Most quilters cut double-fold binding strips at 2.5 inches wide for standard results.
2. Can I use bias binding on a straight-edged quilt?
Yes, though straight-grain binding works fine and wastes less fabric for straight edges.
3. How do I prevent my binding from twisting while sewing?
Press binding thoroughly and use a walking foot to feed layers evenly throughout.
4. Should I prewash my binding fabric before cutting strips?
Prewash if you prewashed your quilt fabrics to prevent uneven shrinkage after washing.
5. How much extra binding should I make beyond my measurements?
Add 10 to 12 extra inches for joining strips and navigating corners comfortably.
Stay up to date with our latest ideas!