How to Put On a Duvet Cover: Easy Step-by-Step Guide
Master how to put on a duvet cover with our easy step-by-step guide. Quick methods, pro tips, and tricks for frustration-free bedding changes.

Let's be honest here. Putting on a duvet cover ranks right up there with folding fitted sheets on the list of household tasks that make people want to scream into pillows. We've all been there, standing in the bedroom, wrestling with what feels like acres of fabric while somehow ending up inside the cover ourselves. It's enough to make you consider sleeping under a pile of blankets forever!
But here's the good news: it doesn't have to be this way. Once you learn the right techniques, changing your duvet cover becomes almost enjoyable. Okay, maybe that's stretching it, but at the very least, it becomes manageable and quick rather than a full-body workout followed by frustration tears.
This How to Put On a Duvet Cover: Easy Step-by-Step Guide will transform you from a duvet-wrestling amateur into a bedding-changing champion. Whether you've got a king-size monstrosity or a cozy twin, these methods work across all sizes and fabric types. We're talking multiple techniques here because different approaches work better for different people. Ready to conquer your duvet demons once and for all? Let's get into it!
Why Duvet Covers Are Worth the Hassle
The Benefits Nobody Talks About
Before we dive into the how-to, let's chat about why duvet covers deserve a spot in your bedroom despite their reputation for being difficult. First off, they protect your expensive duvet insert from stains, body oils, and general wear. That fluffy down comforter you splurged on? A cover keeps it pristine for years.
Washing a duvet cover is infinitely easier than washing the actual duvet. Most covers pop right into your regular washing machine, while bulky inserts require trips to laundromats with oversized machines. Your water bill and your back will thank you.
Then there's the style factor. Duvet covers let you completely transform your bedroom's look without buying new bedding. Feeling summery? Swap in a light linen cover. Winter vibes calling? Bring out the cozy flannel. It's like having multiple bedroom makeovers waiting in your linen closet.
Common Frustrations and Why They Happen
The struggles with duvet covers typically stem from a few common issues. The insert bunches up in corners, the opening seems impossibly small, or the whole thing twists into a fabric tornado mid-process. These problems aren't your fault because traditional methods just don't work very well.
Most people try shoving the duvet insert into the cover like stuffing a sleeping bag into its sack. This approach practically guarantees bunching, uneven distribution, and maximum frustration. The good news? Better methods exist, and we're about to share them all.

How to Put On a Duvet Cover: Easy Step-by-Step Guide Using the Burrito Method
What You'll Need
Gather your duvet insert and clean cover before starting. Clear your bed completely, removing all pillows and any existing bedding. A flat, clear surface makes everything easier, so don't skip this step thinking you'll save time.
Make sure your cover is right-side out with the opening at the foot of your bed. Locate any corner ties or loops inside the cover because these become important later.
The Rolling Technique Explained
This method sounds weird, but trust the process! Start by laying your duvet cover flat on the bed, inside out, with the opening at the foot. Spread it completely smooth without wrinkles.
Next, lay your duvet insert directly on top of the cover, matching corners precisely. Take your time here because proper alignment prevents problems later. Smooth out any bunches or folds in both layers.
Starting at the head of the bed, begin rolling both layers together tightly, like you're rolling a sleeping bag. Keep the roll as even as possible, adjusting as needed. Roll all the way to the foot of the bed where the opening is.
Now comes the magic part. Take one end of your fabric burrito and tuck it into the cover opening. Reach inside and grab the corner, pulling the cover around the rolled bundle. Do the same on the other end.
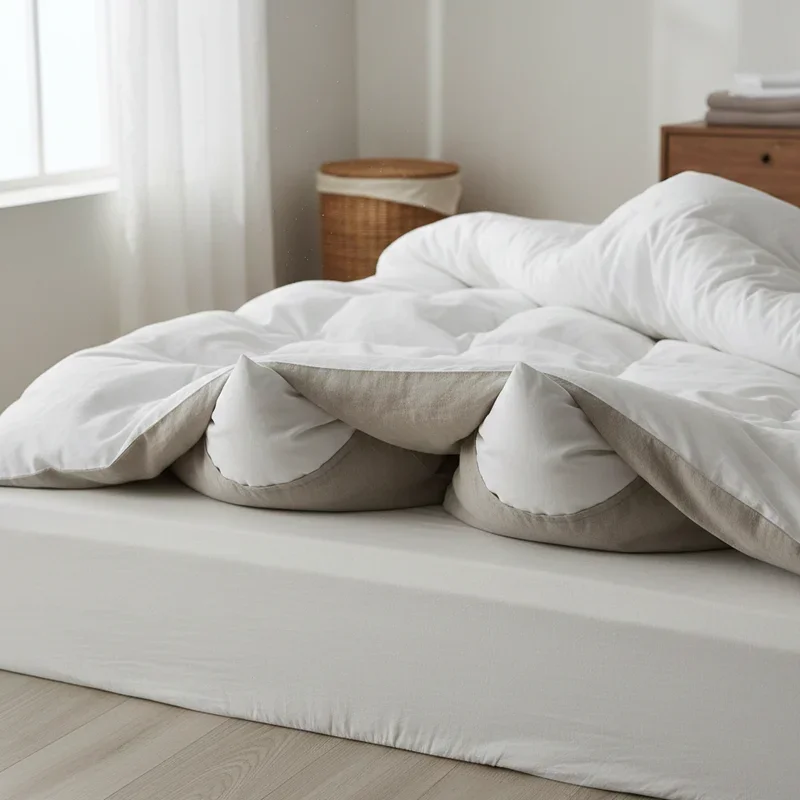
Once both ends are tucked inside the cover opening, simply unroll the whole thing back toward the head of the bed. As you unroll, the cover magically wraps around the insert perfectly. Button or zip the opening closed, give everything a good shake, and marvel at your perfectly covered duvet!
The Traditional Corner Method
When This Approach Works Best
Some folks prefer the classic corner method, especially for smaller duvets or when the burrito technique feels too complicated. This approach works particularly well when your cover has interior ties that secure to the insert's corner loops.
Step-by-Step Instructions
Turn your duvet cover inside out completely. Reach inside and grab both corners at the closed end, one in each hand. Your arms should now be inside the cover like you're wearing it as a very strange poncho.
With your hands still holding those corners, grab the corresponding corners of your duvet insert through the fabric. You're essentially pinching the insert corners through the cover corners. Hold tight!
Here's where things get fun. Shake vigorously while maintaining your grip on those corners. The cover will fall down over the insert like magic. Keep shaking until the cover fully extends over the insert.
Lay everything flat on the bed and smooth out the remaining fabric. You might need to reach inside to adjust the far corners, but most of the work is done. Secure any interior ties to prevent shifting, then close the opening.
The Inside-Out Flip Method
A Hybrid Approach
Can't decide between methods? This hybrid technique combines elements of both for a foolproof approach that works brilliantly for medium-sized duvets and people who like keeping things simple.
Start with your cover inside out, laid flat on the bed with the opening toward you. Place your duvet insert on top, aligning all four corners carefully. If your cover has interior ties, secure them to the insert's corner loops now.
Reach into the opening and grab the two far corners through the fabric, pinching both cover and insert corners together. Now pull those corners toward you while pushing the rest of the cover over the insert.
As you pull, the cover flips right-side out while wrapping around the insert. Think of it like turning a sock right-side out, but much bigger. Shake everything out, close the opening, and you're done!
Pro Tips for Easier Duvet Cover Changes
The Importance of Corner Ties
Those little ribbons inside your duvet cover? They're not decoration! Corner ties keep your insert from shifting and bunching inside the cover. If your cover has them, use them religiously.
No corner ties? Safety pins work as an alternative, though be careful not to snag delicate fabrics. Some people even sew their own ties into covers that lack them. A small investment of time saves major frustration later.
Sizing Matters More Than You Think
Using the wrong size cover creates endless problems. A cover that's too big leaves your insert swimming around inside, bunching up constantly. Too small, and you'll never achieve that fluffy, properly filled look.
Check both your duvet insert dimensions and cover dimensions before purchasing. Don't assume that "queen" means the same thing across all brands because sizing varies surprisingly. When in doubt, go slightly larger rather than smaller.
Fabric Considerations
Slippery fabrics like silk or satin make the covering process trickier. The insert slides around constantly, refusing to stay put. For these materials, the burrito method works best because it controls movement throughout the process.
Cotton and linen covers offer more grip, making any method workable. Flannel practically sticks to itself, so changing flannel covers feels almost easy. Consider fabric type when choosing your approach.
Maintaining Your Duvet Cover Setup
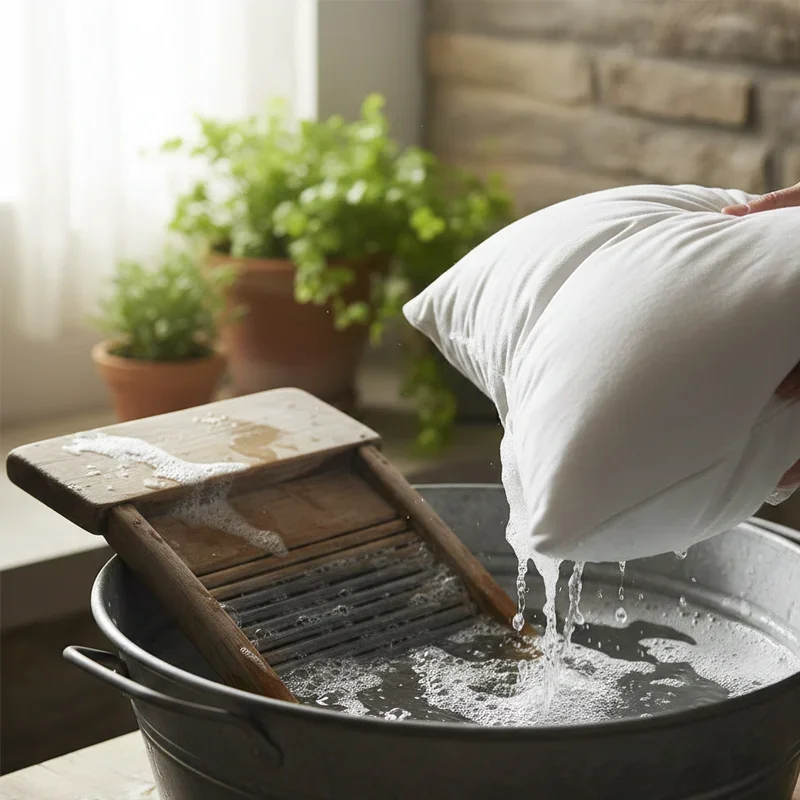
How Often Should You Wash?
Washing your duvet cover every one to two weeks keeps things fresh and hygienic. Your cover collects skin cells, sweat, and oils while you sleep, so regular washing matters more than most people realize.
Between washes, airing out your bedding helps. Pull back covers during the day, open windows when weather permits, and let fresh air circulate. This simple habit extends time between necessary washes while keeping things smelling pleasant.
Preventing Insert Bunching
Even with corner ties, some bunching happens over time. Give your duvet a good shake every morning when making your bed. This redistributes filling evenly and prevents permanent lumping.
Occasionally, remove the cover and fluff your insert separately. This helps down and synthetic fills regain their loft and ensures even coverage across the entire surface.
Storage Tips
When switching covers seasonally, store clean covers in breathable fabric bags rather than plastic. Plastic traps moisture that can lead to mildew or musty smells. Keep stored covers in cool, dry places away from direct sunlight.
Fold covers loosely rather than cramming them into tight spaces. Tight folding creates stubborn creases that require ironing or multiple wash cycles to remove.
Troubleshooting Common Problems
The Insert Keeps Shifting
If your insert migrates constantly despite corner ties, consider adding additional ties at the midpoints of each edge. Eight attachment points provide much better stability than four corner ties alone.
Some people use duvet clips, which are specialized fasteners designed specifically for this problem. They're inexpensive, easy to use, and work remarkably well for persistent shifting issues.
The Cover Always Looks Wrinkled
Removing your cover from the dryer promptly prevents most wrinkling. If wrinkles have already set in, tumble the cover on low heat with a damp washcloth for fifteen minutes. The steam releases wrinkles without requiring ironing.
For natural fiber covers like linen, some wrinkling is expected and even desirable. That lived-in, relaxed look is part of linen's charm. Don't stress about achieving perfectly smooth surfaces with naturally textured fabrics.
The Opening Won't Stay Closed
Buttons popping open or zippers sliding down create annoying gaps. For button closures, ensure buttonholes aren't stretched or damaged. Replacing worn buttons with slightly larger ones sometimes solves the problem.
Zipper issues often stem from fabric caught in the teeth. Carefully inspect and remove any caught threads. For persistent zipper problems, a few stitches closing the opening partially can help while still allowing cover removal.

Why This Guide Changes Everything
Understanding How to Put On a Duvet Cover: Easy Step-by-Step Guide means never dreading bedding changes again. The burrito method especially transforms what was once a frustrating chore into something almost satisfying. There's genuine joy in watching that cover roll perfectly into place!
Once you've mastered these techniques, you might actually look forward to switching out covers with the seasons. Fresh bedding contributes significantly to sleep quality, and removing the struggle from the equation makes regular changes much more likely.
Conclusion
Conquering duvet covers isn't about strength or magic, it's about technique. This How to Put On a Duvet Cover: Easy Step-by-Step Guide gives you multiple approaches so you can find what works best for your situation. Whether you prefer the burrito roll, traditional corner grab, or hybrid flip method, frustration-free bedding changes are finally within reach. Remember to use those corner ties, choose the right size cover, and give everything a good shake. Your perfectly made bed awaits, and getting there just got a whole lot easier.
Read next: 15 Bedroom Makeup Vanity Ideas for Stylish Beauty Spaces
Frequently Asked Questions
1. How long should putting on a duvet cover actually take?
Using proper techniques, the entire process should take under five minutes easily.
2. Can one person put on a king-size duvet cover alone?
Absolutely! The burrito method works perfectly for solo king-size duvet cover changes.
3. Why does my duvet insert bunch up inside the cover?
Missing or unsecured corner ties usually cause bunching, so always attach them properly.
4. How often should I wash my duvet cover?
Wash your duvet cover every one to two weeks for optimal hygiene and freshness.
5. Do I need to wash new duvet covers before first use?
Yes, washing removes manufacturing chemicals and softens fabric for better comfort immediately.
Stay up to date with our latest ideas!